
Maintaining the right level of salinity is a significant task for reef aquarists since the longevity of sea corals depends on the salinity level of the aquariums. Without timely supervision & proper measurement of salinity levels, the state of an ecosystem can decline immensely.
And that’s why aquarists have been opting to get refractometers to measure and preserve the salinity levels. But having a refractometer won’t magically solve your aquarium problems if you’re unaware of the right procedures. So, it’s important to know how to use a refractometer for salinity by figuring out how it controls the entire procedure.
A refractometer measures the salinity level of an aquarium by using the refraction laws of light. Due to differences in the specific gravity of pure water and salt water, the light refracts differently in both mediums. Using the prism, the refractometer measures the refractive index and the corresponding specific gravity of the provided sample water.
It’s super easy to calibrate and use a refractometer even if you’re totally new to the reef tank world. In today’s article, let’s go over the key steps of using a handheld and a digital refractometer and figure out how to preserve the instruments.
Refractometer Readings: Scientific Mechanism
A refractometer is mainly an optical instrument designed to determine the concentration of different kinds of liquids. Normally, they’re used in various lab experiments to determine the concentration of given solutions.
In the world of saltwater fish keeping or reef keeping, refractometers are used to determine the concentration of salt i.e. the salinity in the reef tanks, aquariums, man-made ponds, canals, lakes, etc. However, whether the solution is salty or sugary, or bittersweet, the scientific mechanism is the same in all cases.
A refractometer is completely constructed upon the laws of refraction.
When light passes through two or more mediums, depending on the concentration of mediums, light refracts differently. Refraction refers to the bending i.e. distortion of light in different mediums like air, water, honey, coolant, brine, etc.
The distortion takes place since different mediums have different densities, i.e. concentration levels. You can determine the refractive index from solutions of known density and figure out the angle of refraction from the refractive index.
Similarly, by observing and measuring the refractive angle and other parameters, you can determine the solution density. Aquarists use refractometers to find out how much salt is dissolved in the water in the reef tanks/aquariums.
Knowing the percentage of the salt will help you figure out whether the water needs to be changed. You’ll also know if it’s okay to introduce new animals or plants into the system.
Since different solutions have different concentration levels, you need a refractometer to measure the degree of refraction and refraction indexes. Normally, the prism installed within the refractometer will have a higher refractive index than most brine-type solutions.
The concentration of a solution is inversely proportional to the refractive index of that solution. So, if the sample water contains a low amount of salt, the index will be higher. Consequently, if the salinity level is higher, then the refractive index will be lower.
The refractometer registers and compares the apparent refractive index with the standard index of the prism panels. Overviewing the side-by-side comparison, you can easily figure out the degree of dissolution in the provided solution.
How To Use A Hand-Held Refractometer To Measure Salinity?
So far, we’ve gone over the scientific mumbo-jumbo of the concentration measurement procedures via refractometers. But how should you operate the instrument in an aquatic environment to get the correct results?
Here’s a step-by-step guide on how to use a hand-held refractometer to measure salinity levels in an aquarium –
Step 1 – Index Calibration
You don’t have to re-calibrate your hand-held refractometer every time you use it to measure the salinity of the sample saltwater. Check the calibration after every few uses and fix the discrepancies if you find any.
To calibrate, prepare a standard solution at room temperature and measure the refractive index with the refractometers. Here, the standard saltwater solution will keep the blue and white lines separated at the 35 PPT mark precisely.
Reminder – the calibration process normally ends here since beginner-level reef tanks are kept in room temperature water. However, for a considerably heated ecosystem with greater DO% (dissolved oxygen%), this step alone isn’t enough.
Step 2 – Temperature Calibration
The refractive index changes significantly due to temperature. So, if there’s a temperature difference between the standard solution and the sample solution, you’ll need to calibrate the index according to the variable temperature.
Normally, refractometers have an internal ATC system to automatically calibrate themselves according to the temperature. Your job is to double-check the calibration before moving on to the actual measurement of the salinity levels.
You can search refractometer correction charts online to personally fix the calibration if the ATC system is absent. You’ll find refractive index charts that include the variable indexes of a particular solution in multiple temperatures.
Use the readings from the thermostat or use a thermometer to measure the temperature of the saltwater system. Put down the correct refractive index according to the temperature vs. refractive index chart to calibrate the refractometer.
Step 3 – Collect Sample Solution
Take some water from the tank to prepare a sample solution. Keep the sample in a test tube or a pipette and make sure it’s free of visible contaminants from the tank.
Step 4 – Place Sample On The Prism
Locate the prism, gently wipe the surface with a soft fabric, and pour a few drops of the sample solution on it. Don’t overfill the area. The water shouldn’t roll over to the edge.
Before placing the sample, make sure the glass is free of all sorts of fingerprints, particles, or salt residue whatsoever.
Step 5 – Attach The Cover Plate
For even distribution of the water over the prism slide, press down and secure the cover plate after sample placement. Don’t push too hard lest you should break the slides entirely. Just use enough pressure to distribute the water thoroughly.
You can also leave the cover plate attached for a solid minute before moving on to the next step. Then the liquid and the prism can have enough time to achieve the same temperature.
Step 6 – Configure The Prism End
Find a considerably bright source of light and make the prism end face the bright light. Refraction will occur within the prism due to the light rays immediately.
Step 7 – Configure The Eyepiece
The eyepiece lets you see & evaluate the concentration levels of the pre-registered and the sample solution in the prism. Rotate the eyepiece to help it focus on the prism readings until the blue (dark) and white (light) colored portion on the index chart is visible enough.
With the presence of an ATC (Automatic Temperature Correction) system, the refractometer might directly show you both the temperature and the Brix percentage.
How To Use A Digital Refractometer To Measure Salinity?
It’s a thousand times easier to use a digital refractometer than any other kind of refractometer. Digital refractometers work just like regular thermometers but for salinity measurement.
Here’s how to use a digital refractometer with step-by-step instructions and preservation tips –
Step 1 – Clean The Digital Refractometer
Use a soft fabric to wipe the digital refractometer, especially the prism to clean it thoroughly. Remember the salt residues from the previous experiments can expedite the process and show wrong measurements as well. Hence, you must clean the prism surfaces properly.
To clean the prism, you should use pure or distilled water. Pour a few drops of distilled water on the prism and use a soft lens tissue to wipe it off. Do the same three to four times.
Step 2 – Prepare Sample Solutions
Usually, digital refractometers are used to measure the salinity levels of different tanks at once. Suppose you’re looking to merge the contents of two or more tanks at a time. It’s important to know the salinity levels of both tanks to articulate whether the mixed saltwater will prove to be detrimental to the existing corals, plants, etc. in the tanks.
To prepare sample solutions, take the water from the required tanks and place them in different pipettes. Remove any visible stones, leaves, etc. from the sample solution.
Step 3 – Calibrate The Refractometer
Remember how you used distilled water to clean the prism? Use the same unadulterated water on the prism and then click on the ‘zero’ button of the refractometer.
Now your refractometer knows the base standard and will show the results 0.00 on the screen alongside room temperature. This indicates that there’s absolutely no dissolved solute in the current solution i.e. the distilled water.
Step 4 – Measure Salinity Of Sample Solutions
After calibrating the digital refractometer, use a dropper to pour a few drops of the sample water from one tank. Reminder – don’t forget to use a soft tissue to fully wipe away the distilled water from the previous session.
In fact, do the same after every reading to ensure accurate reports for the next sessions.
After pouring the liquid, press the ‘read’ button of the digital refractometer to read the results. You can measure the Brix %, Brix degree, etc. of multiple solutions. As such, you can compare the salinity levels of different solutions against the standard saltwater solution efficiently.
My Favorite Refractometers: Editors Choice
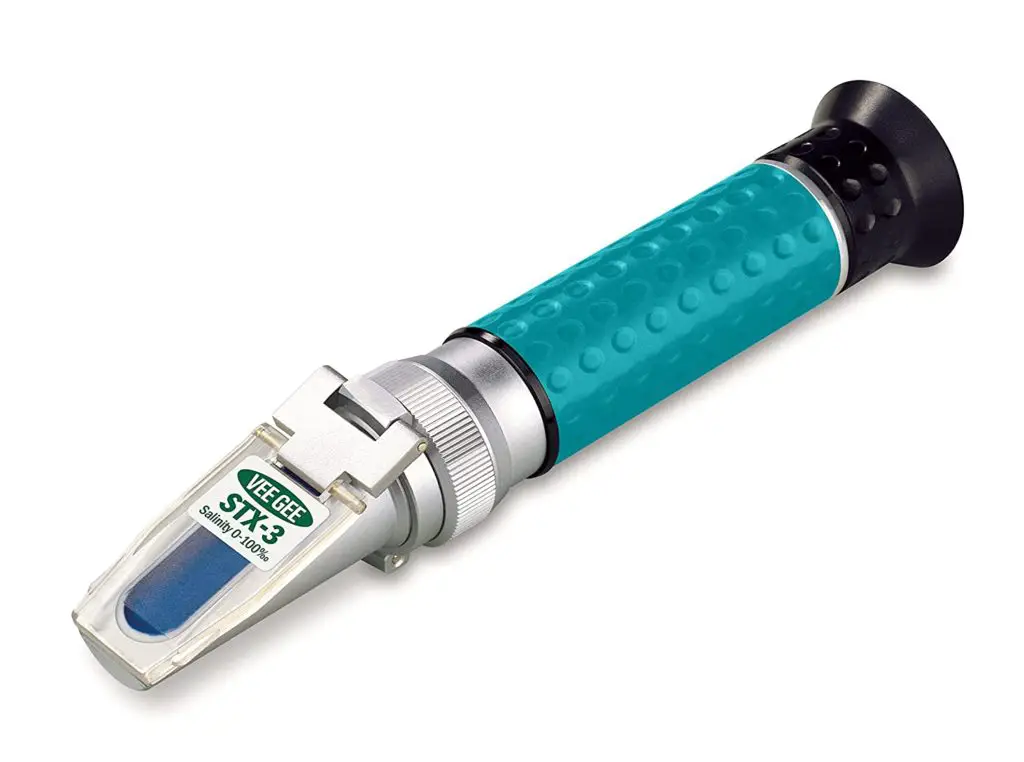
Best Handheld Refractometer
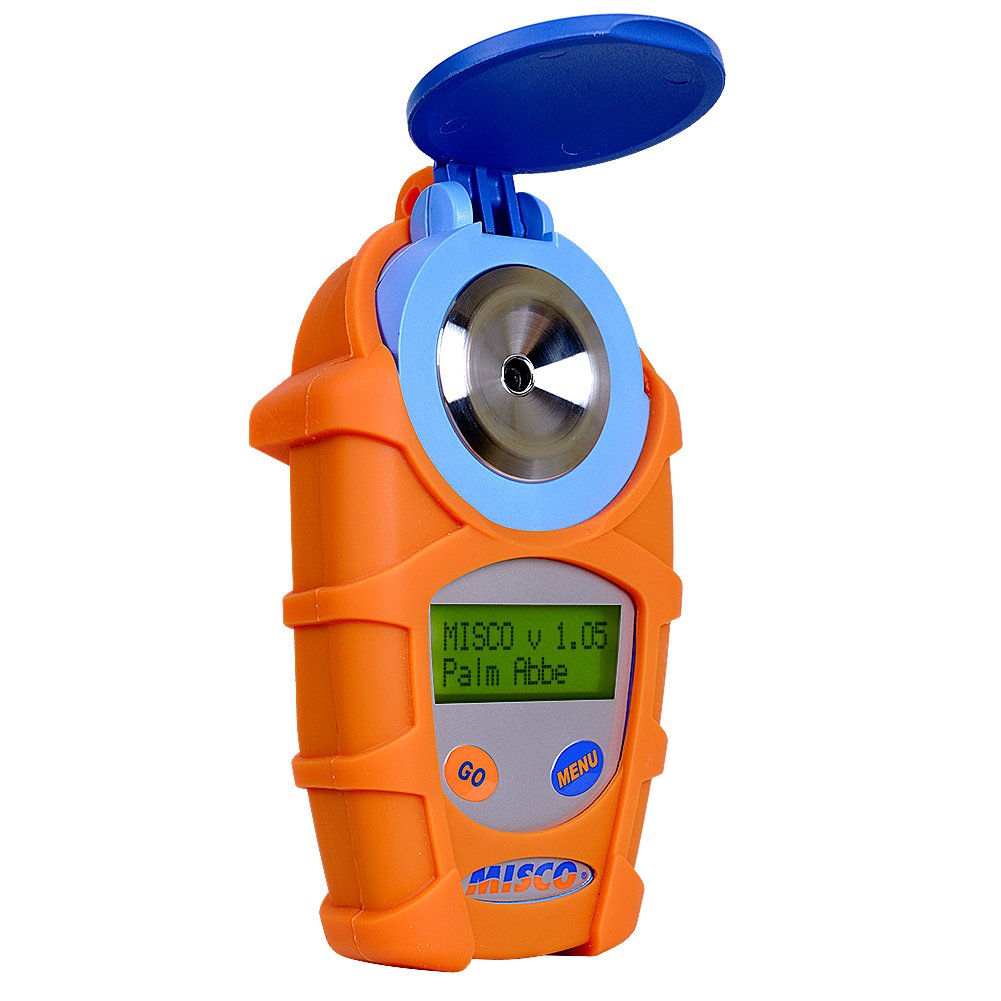
Best Digital Refractometer
How To Accurately Interpret The Refractometer Readings?
You figured out how to use the refractometers, kudos to you! But what do the blue and white lines mean?
You were trying to know how to use a refractometer for salinity levels in the ecosystem. Then why’s the refractometer showing you Brix % and the specific gravity instead?
Well, here’s what you need to know to accurately interpret the refractometer readings –
Reading Brix Scale
The Brix scale is generally used to measure the amount of dissolved sugar in a solution. However, it can be used to measure the salinity levels in saltwater aquariums as well.
If the chart is graded according to the Brix percentage scale, then you should check the percentage of the standard solution first.
Note where the white and blue portion separates while measuring the Brix % of the standard solution. Afterward, clean the slide and measure the sample solution. If the percentage is higher than before, then your tank water is likely over saturated with salt and vice versa.
Similarly, if the chart is graded according to Brix degrees, then higher concentrations will generate more obtuse angles. Because the angle of refraction is proportional to the concentration of the solution.
For instance – 10° bx means that every 1000 gm solution contains 100 gm of salt dissolved in about 900 gm of water. You’ll need to compare the sample solution degree against the standard solution Brix degree to find accurate results.
Reading Specific Gravity
The specific gravity of a natural saltwater ecosystem stays around 1.026 to 1.035 in normal conditions. And that translates to 35 PPT in other terms. By the way, this is also why we prepare for the standard solution with a specific gravity of 35 PPT.
Refractometers that don’t show the Brix percentage will show the estimated specific gravity alongside the PPT grading. Like before, focus on the white or the lighter portion of the grading scale or chart to find the measurements.
If the white light goes up to the 35 PPT mark exactly, know that you have the desired salinity level. And if it’s under it, then it needs more salt. And if it’s over the 35 PPT or 1.026-27 mark, then the water needs to be diluted further.
Cleaning & Preserving Refractometers: Tips & Precautions
Refractometers can help you level up your aquascaping game by means of quick and efficient salinity measurements. However, just as refractometers assist in protecting reef tanks, you should focus on preserving the refractometers.
Here’s a brief overview of all the ways you can clean and preserve your hand-held and digital refractometers –
Get Calibration Solution
You can buy specific calibration solutions if you don’t want to prepare the standard solution by yourself. Aquarists primarily go for the 35 PPT calibration solutions as it mimics the salinity of oceanic ecosystems.
However, make sure to check the labels properly before buying these solutions, and don’t buy any unsealed bottles. Additionally, you should store the solution in the dark & change the solution every few months for better calibration.
Clean The Lower Prism
Before using the refractometer, always clean the lower prism to prevent any contamination within the samples. Contaminated samples will generate wrong readings and throw off the % Brix Scale index substantially.
To clean the lower prism, a little bit of ethanol is fine to oxidize the possible contaminants. You can use soft cotton fabric to clean the glass surface after dipping it in ethanol. However, for digital refractometers, it’s best to use pure distilled water instead of ethanol.
Follow Manufacturer Instructions
Go over the manufacturer guidelines thoroughly to avoid mistreatment of the refractometers. Especially in the case of analog i.e. hand-held refractometers, it’s important to follow the instructions properly for both assembly and preservation.
Avoid Dampening
While cleaning the glass surfaces of a refractometer, you should always gently dab the surfaces with a soft fabric. Otherwise, you’ll risk leaving scratches on the slides and ruining the refractometer readings in the process.
You should also refrain from thoroughly dipping the soft cotton pads or fabrics in the cleaning mixture. Wring out the extra liquid so that the slides and the panels aren’t slippery from the cleaning concoction.
Avoid Bubbles
Whether you’re using a hand-held refractometer or a digital refractometer, make sure there are no bubbles over the prism. Air bubbles can mess with the consistency of the density of the sample liquid – which might affect the measurements.
In the case of hand-held refractometers, press the cover plate in a way there are no bubbles or empty spaces between both surfaces. Use the dropper to pop any bubbles that may form while pouring the liquid on the digital refractometer prism.
Use Soft Lens Tissue
You can purchase dedicated soft lens tissue packages for cleaning laboratory instruments like digital refractometers. They work just as well with analog i.e. handheld refractometers & keep the glasses & lenses squeaky clean.
The difference lies in the softness of the material mostly. Normal tissues can sometimes leave innumerable tiny scratches over prism lenses when used with aggressiveness. But you won’t face that problem with soft lens tissue papers.
Cover The Instruments
Like most other lab instruments, you should keep your refractometers covered when you’re not using them. Otherwise, the prism and other internal parts can get dusty within no time at all. You can also end up leaving scratches on sensitive areas like the glass panels accidentally.
It’s best to use a dark-colored fabric to cover the refractometer. Use a black or brown colored cloth to fully cover the instrument, especially the prism.
You can also keep it in a wooden box or drawer to minimize the possibility of scratches and sunlight-related issues.
Frequently Asked Questions
What are laboratory refractometers?
You can receive extremely precise results with laboratory refractometers. However, they’re super costly and you have no need to invest in these refractometers just to measure the salinity levels of multiple saltwater aquariums & ecosystems.
How often should you calibrate the refractometers?
Depending on the environmental conditions, especially humidity levels, the refractometer calibrations can go awry. That’s why proper and timely calibration is important to prevent unwanted mistakes in future readings.
Do refractometers affect the ecosystem of an aquarium?
Hence, wrong readings can lead to wrong decisions which can affect the sustainability of an ecosystem accordingly. That’s why experts suggest taking multiple readings to prevent discrepancies in the initial measurement results.
Final Words
In today’s article, we figured out how to use a refractometer for salinity measurement in reef tanks and aquariums. Additionally, we found out the common reasons why refractometers can provide inaccurate readings and reports.
If you’re looking to curate the perfect ecosystem for your beloved aquatic plants and animals, invest in a good quality hand-held or digital refractometer right from the start. Calibrate the refractive index appropriately before measuring the salinity level of the sample water.
And after every use, make sure to clean the prism properly to prevent unwanted deposition of mineral salts & dirt particles. Have fun building your saltwater emporiums and let us know if you encounter any further issues with refractometer results!