
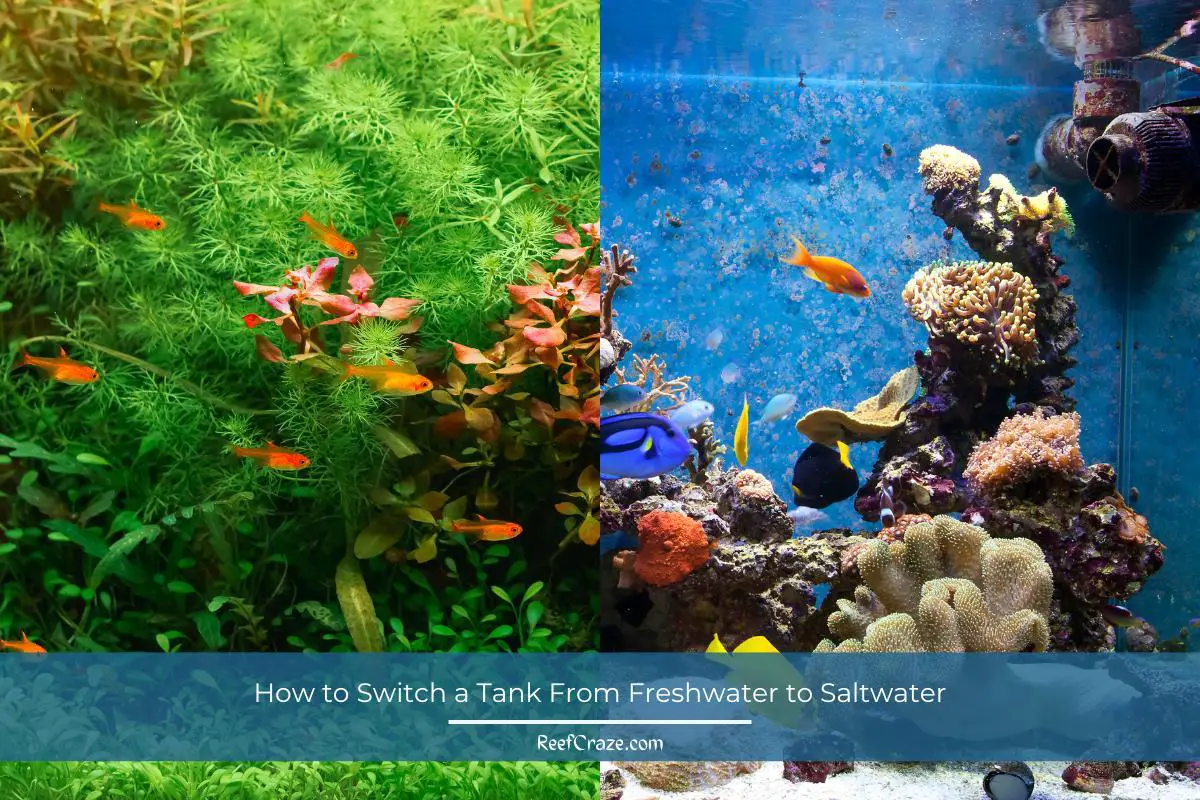
Many aquarium enthusiasts eventually find themselves wanting to explore the beauty and diversity of saltwater marine life. Freshwater aquariums are simpler, less expensive, and easier to care for, but as your experience grows, the stunning colors and unique appeal of a saltwater aquarium can become increasingly attractive.
Converting a freshwater tank to a saltwater tank may seem like a daunting task, but with proper planning and understanding, it becomes a manageable and fulfilling project.
Before beginning the conversion process, it’s important to understand the key differences between freshwater and saltwater tanks. Factors such as water chemistry, salinity levels, and equipment requirements will all be crucial in ensuring a smooth transition for your aquatic friends. Additionally, familiarizing yourself with the unique maintenance and care requirements of a saltwater aquarium will help ensure that your new marine environment thrives.
Key Takeaways
- Converting a freshwater tank to saltwater involves proper planning and understanding of the differences between the two environments.
- Knowing the unique requirements for water chemistry, equipment, and maintenance is crucial in ensuring a successful conversion.
- The proper setup, nitrogen cycling, and maintenance will help create a thriving saltwater aquarium and introduce a whole new world of aquatic beauty into your home.
Understanding the Basics
Before we embark on our aquatic adventure, let’s take a moment to appreciate the stark differences between the world we’re leaving behind and the one we’re about to embrace.
Freshwater vs Saltwater Aquarium
When comparing freshwater and saltwater aquariums, it’s important to understand the foundational differences between the two. Freshwater aquariums contain fresh water and are home to plants and animals from freshwater ecosystems. On the other hand, saltwater aquariums are filled with saltwater and house marine life adapted to saline environments.
In general, freshwater tanks are simpler, less expensive, and easier to maintain. However, saltwater tanks offer a more diverse and visually stunning range of colorful fish and coral species.
Specificity of Saltwater Tank
When converting your freshwater tank to a saltwater tank, there are several key factors to consider:
- Water: The water in a saltwater tank has a specific gravity, which is a measure of its salinity. You’ll need to mix freshwater with marine salt mix to achieve the appropriate salinity for the marine life you plan to keep.
- Substrate: Saltwater tanks typically use sand as a substrate instead of gravel. Sand provides good filtration and a stable surface for your tank and its inhabitants.
- Filtration: Upgrading your mechanical filters is necessary for a successful saltwater tank conversion. Saltwater tanks often require additional filtration components to remove pollutants and maintain water quality.
- Equipment: Some equipment, such as heaters and lighting, may need to be upgraded or adjusted for your new saltwater environment. Additionally, you may need to add a protein skimmer to help remove waste from the tank.
- Size: The size of your tank plays a significant role in the conversion process. Larger tanks often provide more stability and flexibility in terms of water parameters and fish compatibility. Ensure your tank is suitable for the specific types of marine life you plan to house.
By understanding these basics, you’ll be better prepared to successfully convert your freshwater aquarium to a saltwater tank. With proper planning and attention to detail, you can create a vibrant and thriving marine ecosystem in your very own home.
Before the Conversion
Think of it as the preparatory steps before converting your freshwater tank to a saltwater one.
Step 1: Removing All Inhabitants
Before converting your freshwater tank to a saltwater one, it’s essential to remove all fish and plants from the aquarium. Carefully use a fishnet to capture your fish and transfer them to a temporary holding tank. Make sure they have proper aeration, water temperature, and filtration while they are in their temporary home. Next, remove all plants, as most of them won’t survive in a saltwater environment.
Step 2: Cleaning the Tank
With the tank emptied of its inhabitants, it’s time to give it a thorough cleaning.
- Drain the freshwater: Use a hose or siphon to remove the freshwater from the tank. Make sure to dispose of the water in an appropriate location, such as a drain or outside.
- Clean the glass or acrylic: To avoid scratches, it’s important to use a soft cloth or sponge specifically designed to clean fish tanks. Gently scrub the interior surfaces (glass or acrylic) to remove any algae or debris.
- Empty and clean the substrate: Carefully remove the substrate (gravel, sand, or other material) and clean it thoroughly using hot water. Don’t use soap or detergents, as they could harm future saltwater inhabitants.
- Wash the accessories and stand: Clean all accessories such as decorations, rocks, filter media, and the tank stand with hot water and a mild cleaning solution. Rinse everything thoroughly to ensure there’s no residue left.
Step 3: Assessing the Equipment
Now that your tank is cleaned, it’s time to evaluate the equipment you have and determine what can be reused or repurposed for your new saltwater tank:
- Canister filter: Gallon for gallon, saltwater aquariums require more filtration than freshwater ones. Examine your existing filtration system and determine if it can accommodate the necessary upgrades. Some freshwater filters can be adapted for saltwater use.
- Heaters and pumps: Most of the equipment used in freshwater tanks is suitable for saltwater aquariums. Assess your existing heaters and pumps to ensure they are still in good condition and functioning properly.
- Lighting: Saltwater tanks generally require more intense lighting, especially if you plan to keep corals. Evaluate your current lighting system and consider upgrading to meet the requirements of a saltwater tank.
- Additional equipment: Some saltwater-specific equipment may be necessary, such as protein skimmers, refugiums, or powerheads. Research and invest in these pieces of equipment as needed.
In short, before converting your freshwater tank to a saltwater one, remove all fish and plants, thoroughly clean the tank and its components, and assess the suitability of your existing equipment for saltwater use.
Setting Up Your Saltwater Tank
Next we need to set up the tank and make it usable as a marine aquarium.
Step 4: Choosing the Substrate
When setting up your saltwater tank, it’s important to choose the right substrate, as it plays a key role in maintaining a healthy environment for your marine life. Some common substrate options include sand, gravel, crushed coral, and coral sand. Consider your aquarium’s inhabitants and your personal aesthetic preferences when choosing a substrate. Sand is a popular choice for many saltwater tanks, as it creates a more natural-looking environment and helps with biological filtration.
Step 5: Installing the Equipment
Proper filtration is crucial in saltwater aquariums to maintain the ideal water parameters. Install a high-quality canister filter or other filter systems designed for saltwater applications. Additionally, a heater is essential to maintain a stable temperature for your tank’s inhabitants. Ensure to select the appropriate wattage for the size of your aquarium.
Step 6: Adding Decorations
Incorporate natural elements such as live rocks into your saltwater tank to create a visually appealing and functional display. Live rocks not only enhance the overall appearance but also contribute to biological filtration, providing a surface for beneficial bacteria to colonize. You can also add non-toxic artificial decorations to create hiding spots and interesting features for your marine life to explore.
Step 6: Setting Up the Lighting
Proper lighting is essential for a thriving saltwater tank, especially if you plan on keeping corals or other photosynthetic species. Select a lighting system that suits your tank’s size and inhabitants, bearing in mind that some marine species require stronger or specific light spectrums. Set your lights on a timer to mimic natural day and night cycles, helping to create a stable environment for your aquarium dwellers. Remember, it’s crucial to maintain a balance between providing adequate lighting and avoiding excessive light that can contribute to algae growth or negatively impact your tank’s inhabitants.
Adding Saltwater Mixture
Now its time to flood the tank and adjust salinity level for the marine inhabitants.
Step 7: Choosing the Right Salt Mix
When converting your tank from freshwater to saltwater, it is crucial to choose the right salt mix. There are numerous commercial salt mixes available, each providing different mineral compositions and formulas specific to various marine life. Research the needs of your desired saltwater inhabitants and select a salt mix that best matches their requirements.
To prepare the saltwater, first, fill a clean container with reverse osmosis de-ionized water (RODI). Measure the required amount of salt mix according to the instructions on the package, then gradually add it to the RODI water while stirring continuously to ensure proper dissolution.
Step 8: Achieving Desired Salinity
Once your salt mix is fully dissolved, it’s time to test the water to ensure you have achieved the desired salinity for your saltwater tank. Use a hydrometer or refractometer to measure the specific gravity of the prepared saltwater. The specific gravity should typically range between 1.020 and 1.025 for most marine species. You may need to adjust the amount of salt mix added to the water to reach the target specific gravity.
After reaching the desired salinity, allow the saltwater mixture to sit for at least 24 hours to ensure proper dissolution and stability. This waiting period also allows the water temperature to stabilize, so remember to use a reliable heater and thermometer.
When your saltwater mixture is ready, slowly add it to your tank, giving your aquarium equipment ample time to adjust. Monitor the salinity as you fill the aquarium to ensure it remains consistent.
Remember, switching a tank from freshwater to saltwater requires a thorough understanding of the water chemistry and the needs of your saltwater inhabitants. By carefully choosing the right salt mix and achieving the desired salinity, you can create a thriving marine environment for your aquarium.
Starting the Nitrogen Cycle
When switching from a freshwater to a saltwater tank, it is essential to start the nitrogen cycle properly. This process involves establishing a healthy population of beneficial bacteria, ensuring proper filtration, and regularly testing the water to maintain the appropriate water parameters.
Step 9: Adding Beneficial Bacteria
To start, you need to add beneficial bacteria to your tank. These microorganisms play a crucial role in breaking down harmful ammonia and nitrites into less harmful nitrates. You can introduce beneficial bacteria by adding a commercial bacterial starter or using live rock from an established saltwater aquarium. Both methods will help kickstart the nitrogen cycle and create a safe environment for your future marine inhabitants.
Step 10: Ensuring Proper Filtration
Filtration is another vital component of a well-functioning nitrogen cycle. Your saltwater tank should have both mechanical and biological filtration. Mechanical filtration removes debris and particulate matter, while biological filtration promotes the growth of beneficial bacteria needed to process ammonia, nitrite, and nitrate.
To achieve proper filtration, choose the right filter for your tank size and type. It should include filter medium, such as sponge or foam, for mechanical filtration and porous material, like ceramic rings or bio-balls, for biological filtration. Ensure you clean and maintain the filter regularly to avoid disruptions in the nitrogen cycle and maintain optimal water quality.
Step 11: Testing the Water
Monitoring water parameters is essential when establishing the nitrogen cycle in your saltwater aquarium. Regularly test the water for ammonia, nitrite, and nitrate levels, as well as other essential parameters like salinity, temperature, and pH.
During the initial stages of the nitrogen cycle, you may observe spikes in ammonia and nitrite levels. As the cycle progresses and beneficial bacteria colonies grow, these levels should gradually decrease while nitrate levels increase. Perform regular water changes to keep nitrate levels in check and maintain overall water quality.
By following these steps, you can successfully start the nitrogen cycle in your newly converted saltwater tank, creating a healthy environment for your aquatic life.
Introducing Inhabitants
When converting your freshwater tank to a saltwater aquarium, it’s essential to properly introduce new inhabitants to ensure their health and the overall health of the tank. In this section, we’ll discuss how to acclimate fish and invertebrates and how to add corals to your new saltwater environment.
Step 12: Acclimating Fish and Invertebrates
Before introducing saltwater fish and invertebrates to your tank, you’ll need to acclimate them to reduce stress and minimize the risk of shock. Follow these steps to safely acclimate your new tank inhabitants:
- Float the bag: Float the sealed bag containing the fish or invertebrates in the aquarium for about 15 minutes to equalize the water temperature.
- Open the bag and add water: After 15 minutes, open the bag and add a small amount of tank water. Repeat this process every 15 minutes, doubling the water volume in the bag with each addition, until you’ve quadrupled the original water volume.
- Observe and release: Keep an eye on the fish or invertebrates during the acclimation process. Once they appear comfortable and active, use a net to gently transfer them to the new tank. Avoid adding the bag water to your tank, as it may contain contaminants or pollutants.
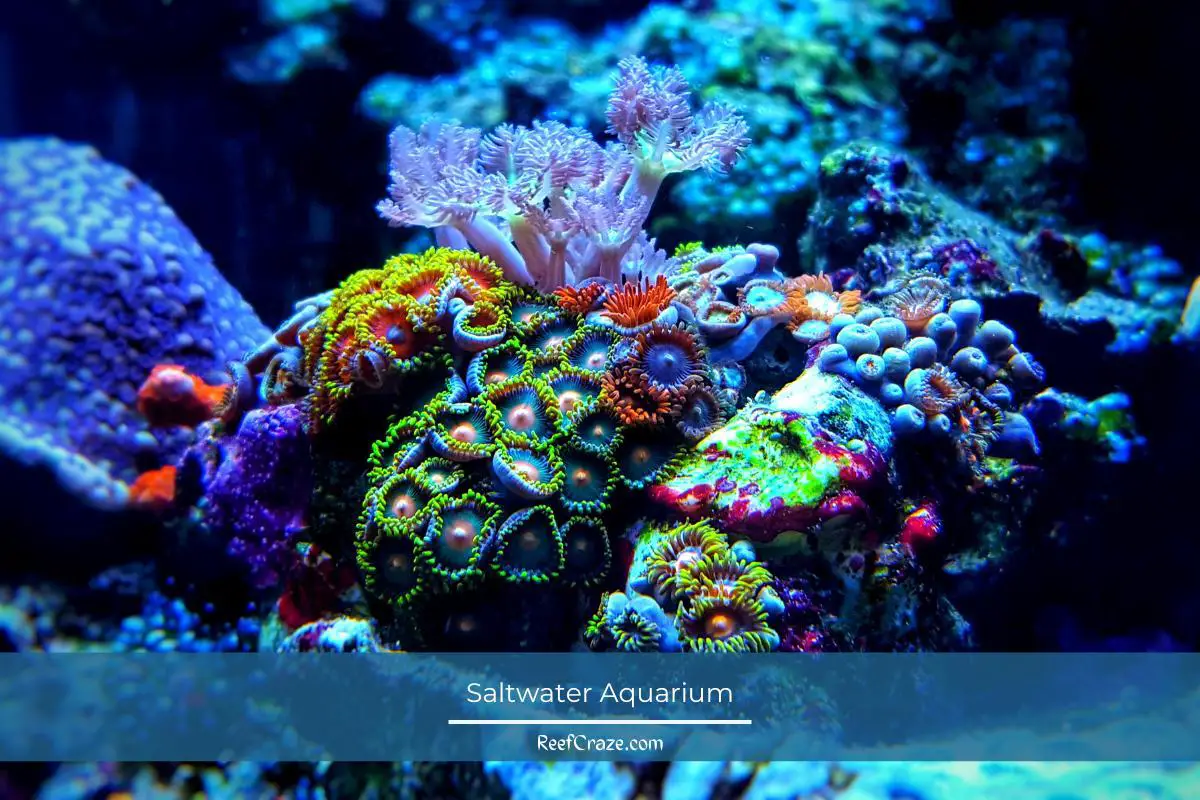
Step 13: Adding Corals
Incorporating corals into your saltwater aquarium can add amazing colors and textures to the environment. However, it’s essential to follow these guidelines when adding corals:
- Select healthy corals: Choose corals with vibrant colors, extended polyps, and a robust appearance, indicating good health.
- Check compatibility: Research which corals are compatible with your tank’s current inhabitants to ensure harmony in your aquarium.
- Acclimate them: Since corals are sensitive marine animals, use the same acclimation process as described for fish and invertebrates to minimize the risk of stress or damage.
- Position with care: Place corals in suitable locations within your tank, considering factors such as light requirements and suitable substrate. Provide ample space between corals to allow for growth and prevent territorial disputes.
Maintaining Your Saltwater Tank
Once everything is settled you need to keep the tank under close observation to fight any unwanted issues. Maintaining the tank is part of the game.
Routine Water Changes
In order to maintain a healthy saltwater tank, it’s important to perform routine water changes. Typically, you should replace 10%-20% of the total water volume every two to four weeks. This helps keep the water chemistry stable and removes excess nutrients and contaminants. Use pre-mixed saltwater with the appropriate salinity level during water changes, making sure it is the same temperature as your tank.
Monitoring Salinity and Lighting
Monitoring the salinity of your saltwater tank is crucial for its health and stability. Salinity should be between 1.023 and 1.025 specific gravity for fish-only tanks, and around 1.026 for reef tanks. Use a refractometer to accurately measure salinity levels, and adjust by topping off with freshwater or pre-mixed saltwater as needed.
Lighting is essential for maintaining a thriving marine ecosystem. Be consistent with your lighting schedule to mimic natural day and night cycles. If you have a reef tank, ensure the light spectrum and intensity meet the requirements of your corals.
Providing Good Habitat and Care
Creating a suitable habitat in your saltwater tank involves proper aquascaping, temperature control, and adequate filtration.
- Aquascaping: Arrange live rock, sand, and decorations to provide hiding spots and swimming space for your fish, while allowing room for corals to grow.
- Temperature control: Maintain a stable temperature between 75-80°F (24-27°C) using a reliable heater and thermometer. Fluctuations in temperature can stress your fish and corals.
- Filtration: Utilize a combination of mechanical, chemical, and biological filtration to remove waste, maintain water clarity, and support beneficial bacteria. Regularly clean or replace filter media to ensure optimal performance.
By following these guidelines, you can maintain a healthy and stable ecosystem in your saltwater tank.
Common Mistakes to Avoid When Transitioning from Freshwater to Saltwater
Transitions, whether in life or aquariums, are often fraught with hiccups. But remember, every stumble is a step towards mastering the art of maintaining a saltwater tank. Here’s a lowdown on common pitfalls to watch out for.
Rushing the Nitrogen Cycle Process: Patience, My Friend!
This is a marathon, not a sprint. The nitrogen cycle is the bedrock of your tank’s health. Rushing it can wreak havoc on your marine ecosystem. Like a good pot of chili, it needs time to simmer. So, slow down and let nature run its course!
Overstocking the Tank: Less is More!
The allure of a bustling underwater city can be tempting. But resist the urge to overstock! An overcrowded tank is a stressed tank, and stress is bad news in the marine world. Remember, less is more when it comes to stocking your saltwater tank.
Inadequate Water Testing and Maintenance: The Devil is in the Details
Skipping on water testing and maintenance is a no-no. It’s like driving blindfolded – not the best idea! Regular check-ups help you catch any potential issues early on. So, keep your eyes on the details, and your tank will thank you!
Ignoring the Specific Needs of Saltwater Species: Know Your Crew!
Every marine species has its quirks. Ignoring these can lead to unhappy, unhealthy fish. Take time to learn about your marine life, cater to their needs, and your tank will be a buzzing, happy community in no time!
Frequently Asked Questions
What equipment is needed to convert a freshwater tank to saltwater?
To convert a freshwater tank to saltwater, you will need several pieces of equipment, including a protein skimmer, marine salt mix, hydrometer or refractometer, and coral sand or live rock. Some of your existing equipment, such as the tank itself, heaters, and lighting, can be reused. However, it’s important to thoroughly clean the equipment before transitioning to a saltwater setup.
What are the steps to switch from freshwater to saltwater aquarium?
- Empty the freshwater tank and thoroughly clean it, removing all traces of freshwater residue.
- Replace the substrate with coral sand or live rock for a saltwater environment.
- Fill the tank with dechlorinated water and mix in the marine salt, using a hydrometer or refractometer to achieve the correct salinity.
- Reinstall or replace your heaters, filters, and lighting equipment as needed.
- Set up and install the protein skimmer.
- Cycle the tank to establish the beneficial bacteria for your new saltwater setup.
- Slowly introduce your saltwater fish and corals after the tank has been properly cycled.
Can the same filtration system be used for both freshwater and saltwater?
Some filtration systems can be used for both freshwater and saltwater, but it is essential to replace the filter media and thoroughly clean the filtration equipment. Make sure the filter capacity is suited for your saltwater tank’s size and requirements. In some cases, a larger or more specialized filtration system may be necessary for a saltwater setup.
How to properly cycle a new saltwater tank?
Cycling a new saltwater tank involves establishing beneficial bacteria that break down waste. This process can take a few weeks. Start by adding a source of ammonia, like a piece of fish, to the tank and monitoring ammonia, nitrite, and nitrate levels. You may also add live rock or bacteria starter products to speed up the process. Once the nitrogen cycle is established and ammonia and nitrate levels drop to zero, you can safely add your saltwater fish and corals.
What are the main differences between freshwater and saltwater aquarium maintenance?
Saltwater aquariums usually require more maintenance than freshwater setups. Key differences include:
- Monitoring and maintaining water parameters, such as salinity, are more critical in a saltwater aquarium.
- Saltwater tanks may require additional equipment, like a protein skimmer, to maintain water quality.
- Saltwater setups involve more expensive and delicate fish and corals that may demand specialized care.
What type of live rock is best for saltwater aquariums?
The best type of live rock for saltwater aquariums varies depending on your tank’s specific needs and your personal preferences. Different types of live rock provide different benefits, like aiding in filtration, providing a habitat for organisms, or contributing to the tank’s aesthetics. Consider factors such as the size, shape, and density of live rock when making your selection, and consult with saltwater aquarium experts or fellow hobbyists for recommendations.
Conclusion
And that, my fellow aquarists, is a wrap! Switching from freshwater to saltwater is no walk in the park, but the result? A vibrant, mesmerizing piece of ocean life, right in your living room. It’s a journey of patience, learning, and adaptation, but as we’ve seen, every challenging journey leads to rewarding destinations.